

TLDR: Download Temp on Playstore
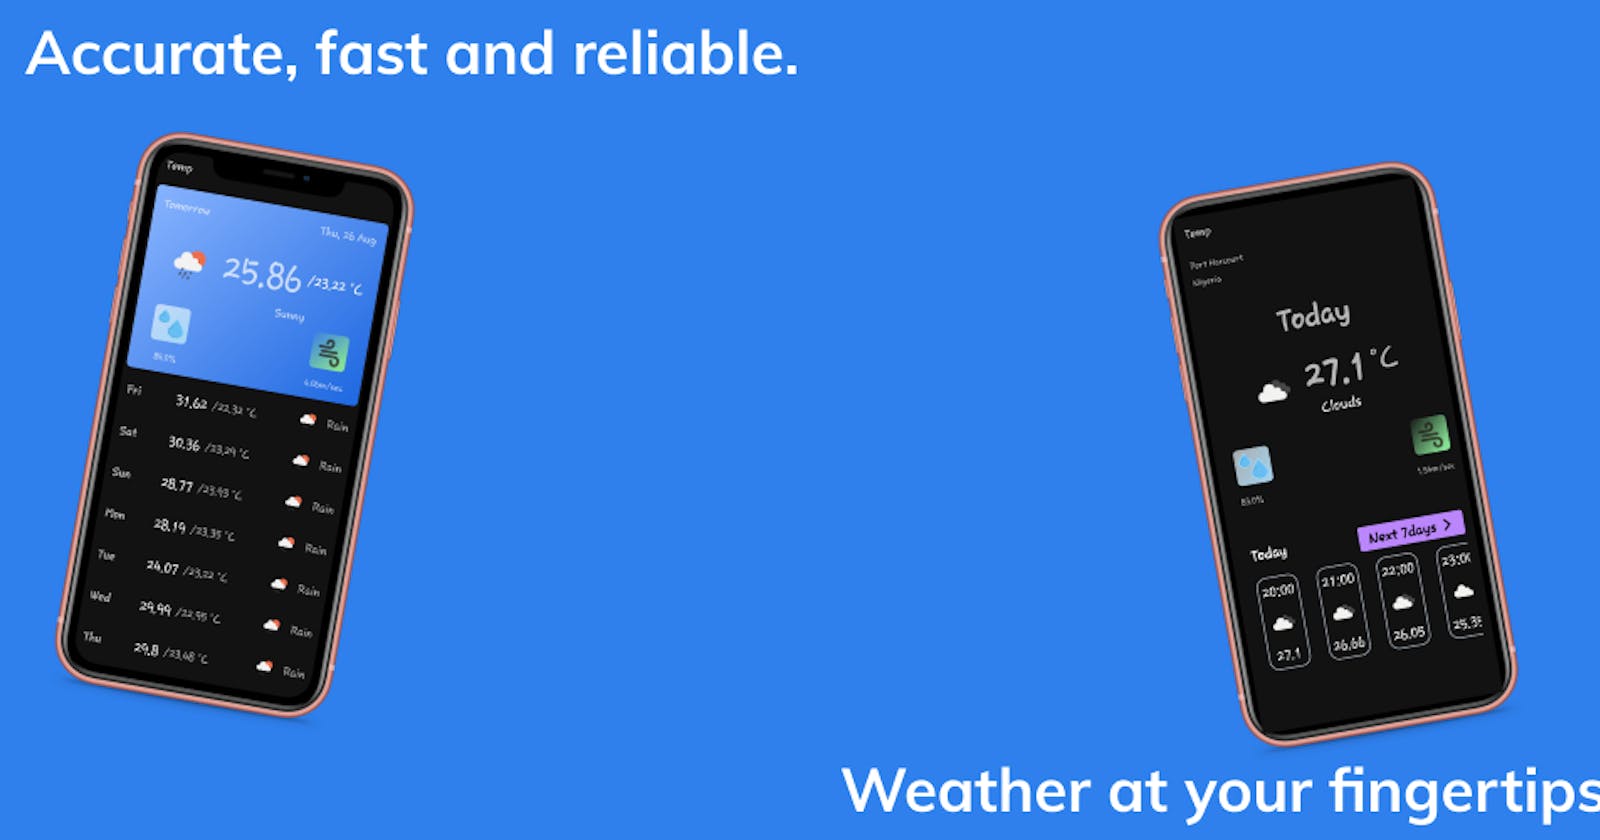
I had just finished the Android Basics in Kotlin Course and was trying to decide on an app to build to practice the concepts I had learned. I wanted a simple app with a maximum of two screens, just so I could build it quickly. The simplest app I could come up with was a weather app that shows basic weather information in your current location such as; temperature, humidity, and wind speed. This article is going to focus on the bugs I ran into while building the app and how I crushed them as the rockstar dev that I am.
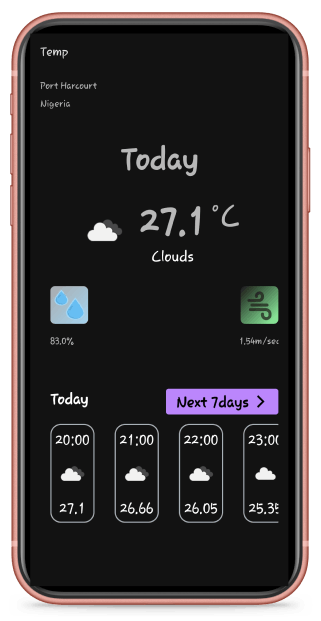
Temp homepage.
User interface challenges
I chose to use data binding to build the app and I encountered two funny layout bugs that I've only seen occur when using the data binding library and I still don't know why.
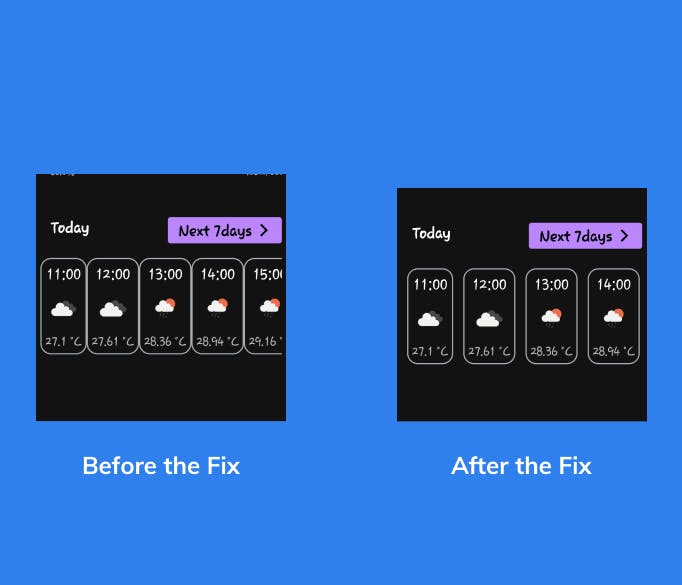
UI Bug 1: Layout margin not showing on RecyclerView List Item Layout
On my recycler view item layout, the layout margin of the parent layout wasn't showing for some reason (Still doing some research as to why this is the case and will update this article with my findings). The only way to create spaces between the items was with padding, and this was of no use in my case as I had a background drawable hence what I really needed was a layout_margin.
Layout file with the bug.
<?xml version="1.0" encoding="utf-8"?>
<layout xmlns:android="http://schemas.android.com/apk/res/android"
    xmlns:app="http://schemas.android.com/apk/res-auto"
    xmlns:tools="http://schemas.android.com/tools">

    <data>
        <variable
            name="hourlyWeather"
            type="com.nkwachi.temp.weather.HourlyWeather" />
    </data>


        <LinearLayout
            android:background="@drawable/cylinder"
            android:layout_width="wrap_content"
            android:padding="8dp"
            android:layout_margin="8dp"
            android:layout_height="match_parent"
            android:orientation="vertical">


            <TextView
                android:id="@+id/time_text_view"
                android:layout_width="wrap_content"
                android:layout_height="wrap_content"
                android:layout_weight="1"
                app:date="@{hourlyWeather.dateTime}"
                android:layout_gravity="center"
                android:paddingBottom="8dp"
                android:textAppearance="@style/TextAppearance.AppCompat.Large"
                tools:text="11:00" />

            <ImageView
                android:id="@+id/imageView4"
                android:layout_width="match_parent"
                android:layout_height="60dp"
                android:layout_weight="2"
                app:imageUrl="@{hourlyWeather.weather[0].icon}"
                tools:srcCompat="@tools:sample/avatars" />

            <TextView
                android:id="@+id/temp_text_view"
                android:layout_width="wrap_content"
                android:layout_height="wrap_content"
                android:layout_weight="1"
                android:paddingTop="8dp"
                android:layout_gravity="center"
                android:text="@{@string/temperature(String.valueOf(hourlyWeather.temperature))}"
                android:textAppearance="@style/TextAppearance.AppCompat.Medium"
                tools:text="20" />
        </LinearLayout>

</layout>
Fix: I made my Linear Layout a child of a Frame Layout and then added padding to the Frame Layout and voilà it worked.
Layout file with the fix.
<?xml version="1.0" encoding="utf-8"?>
<layout xmlns:android="http://schemas.android.com/apk/res/android"
    xmlns:app="http://schemas.android.com/apk/res-auto"
    xmlns:tools="http://schemas.android.com/tools">

    <data>
        <variable
            name="hourlyWeather"
            type="com.nkwachi.temp.weather.HourlyWeather" />
    </data>

    <FrameLayout
        android:layout_width="wrap_content"
        android:layout_height="match_parent"
        android:padding="16dp"
        >

        <LinearLayout
            android:background="@drawable/cylinder"
            android:layout_width="wrap_content"
            android:padding="8dp"
            android:layout_height="match_parent"
            android:orientation="vertical">


            <TextView
                android:id="@+id/time_text_view"
                android:layout_width="wrap_content"
                android:layout_height="wrap_content"
                android:layout_weight="1"
                app:date="@{hourlyWeather.dateTime}"
                android:layout_gravity="center"
                android:paddingBottom="8dp"
                android:textAppearance="@style/TextAppearance.AppCompat.Large"
                tools:text="11:00" />

            <ImageView
                android:id="@+id/imageView4"
                android:layout_width="match_parent"
                android:layout_height="60dp"
                android:layout_weight="2"
                app:imageUrl="@{hourlyWeather.weather[0].icon}"
                tools:srcCompat="@tools:sample/avatars" />

            <TextView
                android:id="@+id/temp_text_view"
                android:layout_width="wrap_content"
                android:layout_height="wrap_content"
                android:layout_weight="1"
                android:paddingTop="8dp"
                android:layout_gravity="center"
                android:text="@{@string/temperature(String.valueOf(hourlyWeather.temperature))}"
                android:textAppearance="@style/TextAppearance.AppCompat.Large"
                tools:text="20" />
        </LinearLayout>

    </FrameLayout>
</layout>
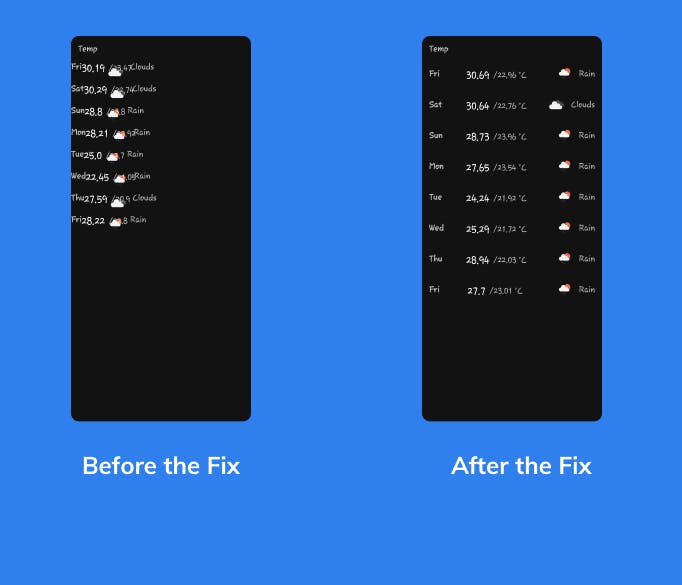
 UI Bug 2:
The recycler view items were taking up half the width of the screen instead of the full screen despite setting the width to be match_parent.
When I removed data-binding from the layout file the bug was gone, but with data-binding it resurfaced. I was able to find a solution on Stack Overflow.
UI Bug 2:
The recycler view items were taking up half the width of the screen instead of the full screen despite setting the width to be match_parent.
When I removed data-binding from the layout file the bug was gone, but with data-binding it resurfaced. I was able to find a solution on Stack Overflow.
Fix:
        val layoutParams = RecyclerView.LayoutParams(
            ViewGroup.LayoutParams.MATCH_PARENT,
            ViewGroup.LayoutParams.WRAP_CONTENT
        )
        return DailyWeatherViewHolder(DaysListBinding.inflate(LayoutInflater.from(parent.context)).apply {
            root.layoutParams = layoutParams
        })
Getting the User Location
The weather API requires the user location and there were a few hiccups in getting that. I found the android documentation a little unclear on the steps required to get a user location, and in case you feel the same way I’ve tried to simplify them here in four easy steps.
Step 1: Requesting Location Permissions
Step 2: Get the last known location
After this step, you'll be able to get the user location only if the user location is on. In order for the user to see the prompt to put on their location if it is off you need to follow step 3, and I didn't realize this until after a few headaches.
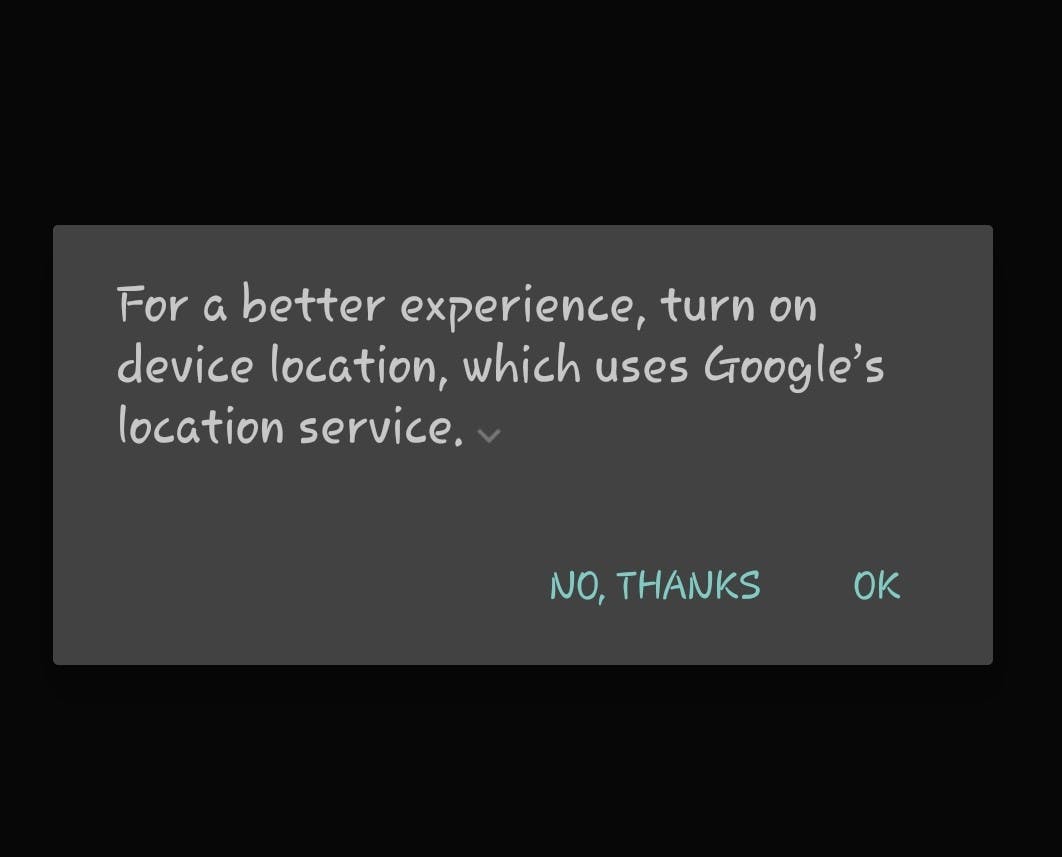
Picture of the prompt
Step 3: Location Settings This step checks if the user location is on, if not the user gets shown a dialog box to put it on. The response from whatever option the user picks in the dialog box is passed in onActivityResult(). In onActivityResult() if the user clicked ok to put on their location you should then make a request for the user's location. However, in most cases the location object is null and you'll need to follow the next step to retrieve the user location if it is null.
     fusedLocationClient = LocationServices.getFusedLocationProviderClient(this)
                        fusedLocationClient.lastLocation.addOnSuccessListener { location: Location? ->
                            // Got last known location. In some rare situations this can be null.
                            if (location != null) {

                                // Logic to handle location object
                                parseLocation(location)

                            } else {


                    }
                        }
Step 4: Request Location Updates
This step allows you to be able to successfully get a non-null value Location value if it was null in onActivityResult(). P.S: If your use case requires getting the location once without any need for updates, the LocationRequest object has a field called numUpdates and you can set it to 1.
        locationCallback = object : LocationCallback() {
                                    override fun onLocationResult(locationResult: LocationResult?) {
                                        locationResult ?: return
                                        for (location in locationResult.locations) {
                                            parseLocation(location)
                                        }
                                    }
                                }
                                val mLocationRequest = LocationRequest.create().apply {
                                    interval = 10000
                                    fastestInterval = 5000
                                    priority = LocationRequest.PRIORITY_LOW_POWER
                                    numUpdates = 1
                                }

                                fusedLocationClient = LocationServices.getFusedLocationProviderClient(this)
                                fusedLocationClient.requestLocationUpdates(
                                    mLocationRequest, locationCallback,
                                    Looper.getMainLooper()
                                )
After following these four steps you should be able to get your user's location with the best experience for them. These are some of the challenges I faced in building a very simple weather android app with Kotlin. Thank you for reading my article and please download Temp on Playstore